Building NSIS Plugins
Note
This guide assumes that you have a Firefox build environment set up as well as a recent version of Visual Studio. The steps here use Visual Studio 2022.
Instructions
Make sure you are configured to build DLLs. Follow this guide.
NSIS plugins are not integrated with the build system pending bug 1771192. You will need to build them manually by creating a new Visual Studio project in the
$SRCDIR/other-licenses/nsis/Contrib/directory with the following settings.


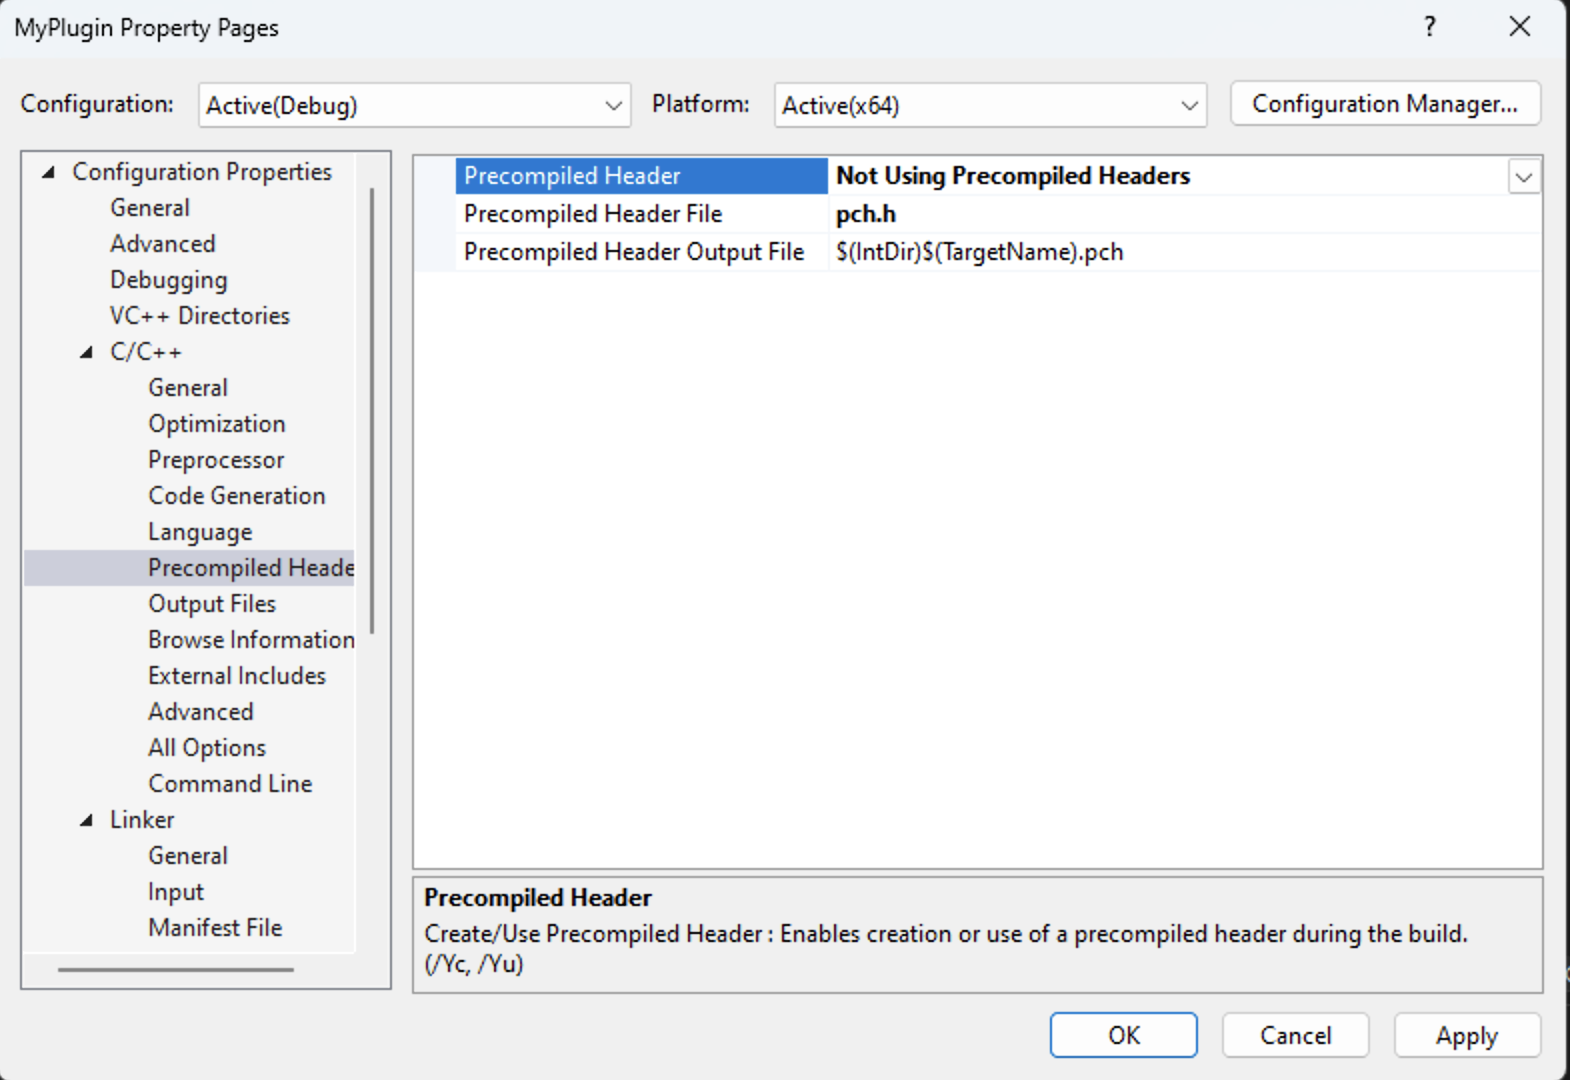
Once the project has been created, right click on it in the sidebar and go to
Configuration Properties -> C/C++ -> Precompiled Headerand setPrecompiled Headerto “Not Using Precompiled Headers”.
For easier testing set the output directory in
Configuration Properties -> Generalto$SRCDIR/other-licenses/nsis/Plugins.Delete any files generated when you created the Visual Studio project such as
pch.horframework.hand any related include statements.Download the source code for NSIS version 3.07. (current at the time of writing although possibly subject to change) and extract the source files. Navigate to
Contrib/ExDLLand copypluginapi.h,pluginapi.candnsis_tchar.hto where header files for your Visual Studio project live. Add them to your project.You can use the following template to get started with your own plugin:
/* This Source Code Form is subject to the terms of the Mozilla Public
* License, v. 2.0. If a copy of the MPL was not distributed with this
* file, you can obtain one at http://mozilla.org/MPL/2.0/. */

// Put a brief description of your NSIS plugin here.

// Put your include statements here.
#include <sysheader>
#include "pluginapi.h" // This is taken from the NSIS plugin page
#include "myheader.h"

// A struct used for reading the stack passed in to the function
struct stack_t {
  stack_t* next;
  TCHAR text[MAX_PATH];
};

/**
*
*
* Put any additional functions you write here.
*
*
*/

// I use popstringn and pushstringn from the NSIS pluginapi.h file.

// This is the function I want to call from within NSIS
extern "C" void __declspec(dllexport)
MyNSISFunction(HWND, int string_size, TCHAR* variables, stack_t** stacktop, void*) {
  wchar_t getArg[MAX_PATH+1];
  EXDLL_INIT();
  bool rv = false;
  int popRet = popstringn(getArg, MAX_PATH+1);
  if (popRet == 0) {
    rv = FunctionThatTakesAnArgument(getArg);
  }
  pushstring(rv ? L"1" : L"0");
}

BOOL APIENTRY
DllMain(HMODULE, DWORD, LPVOID) {
  return TRUE;
}
Modify
$SRCDIR/toolkit/mozapps/installer/windows/nsis/makensis.mkas follows:
CUSTOM_NSIS_PLUGINS = \
    ... \
    MyPlugin.dll \
    ... \
    $(NULL)
NSIS only works with 32-bit plugins so ensure your Visual Studio build configuration is set to x86. Compile your new plugin.
expandlibfiles will also be generated but they can safely be deleted.The plugin can now be called from within NSIS as follows:
MyPlugin::MyNSISFunc "$myNSISarg"
Note
You may need to run
./mach clobberfor your DLL to be recognized.You can compile your plugin in debug mode and step through it with a debugger by attaching to the installer/uninstall process.
If libraries are needed, files in the
$SRCDIR/mfbt/and$SRCDIR/toolkit/directories are usually okay although there may be exceptions.The best way to access headers is usually to simply copy them into the project given how disconnected this is from the rest of the build system.